Sprayed a final coat of clear flat, removed the mask from the canopy and this model is now complete! This build took me 43 hours and 17 minutes, a lot more than I had originally planned but I am very happy with how it turned out.


 Recreated the decals I want to replace in Photoshop using several reference photos of decal sheets I found online. Interestingly I find that the new decals look better than the originals, with the text being much more crisp.
 Spent the past few days applying decals which I always find to be one of the more rewarding parts of building a kit as it helps bring it to life.
 Needed to find a way to keep all the small lead weights in the nose and not rattle. The solution was to purchase the largest needle available at a local pharmacy. Was a bit awkward to explain why I needed a needle but once the pharmacist understood what I was trying to do she was very helpful and cooperative.
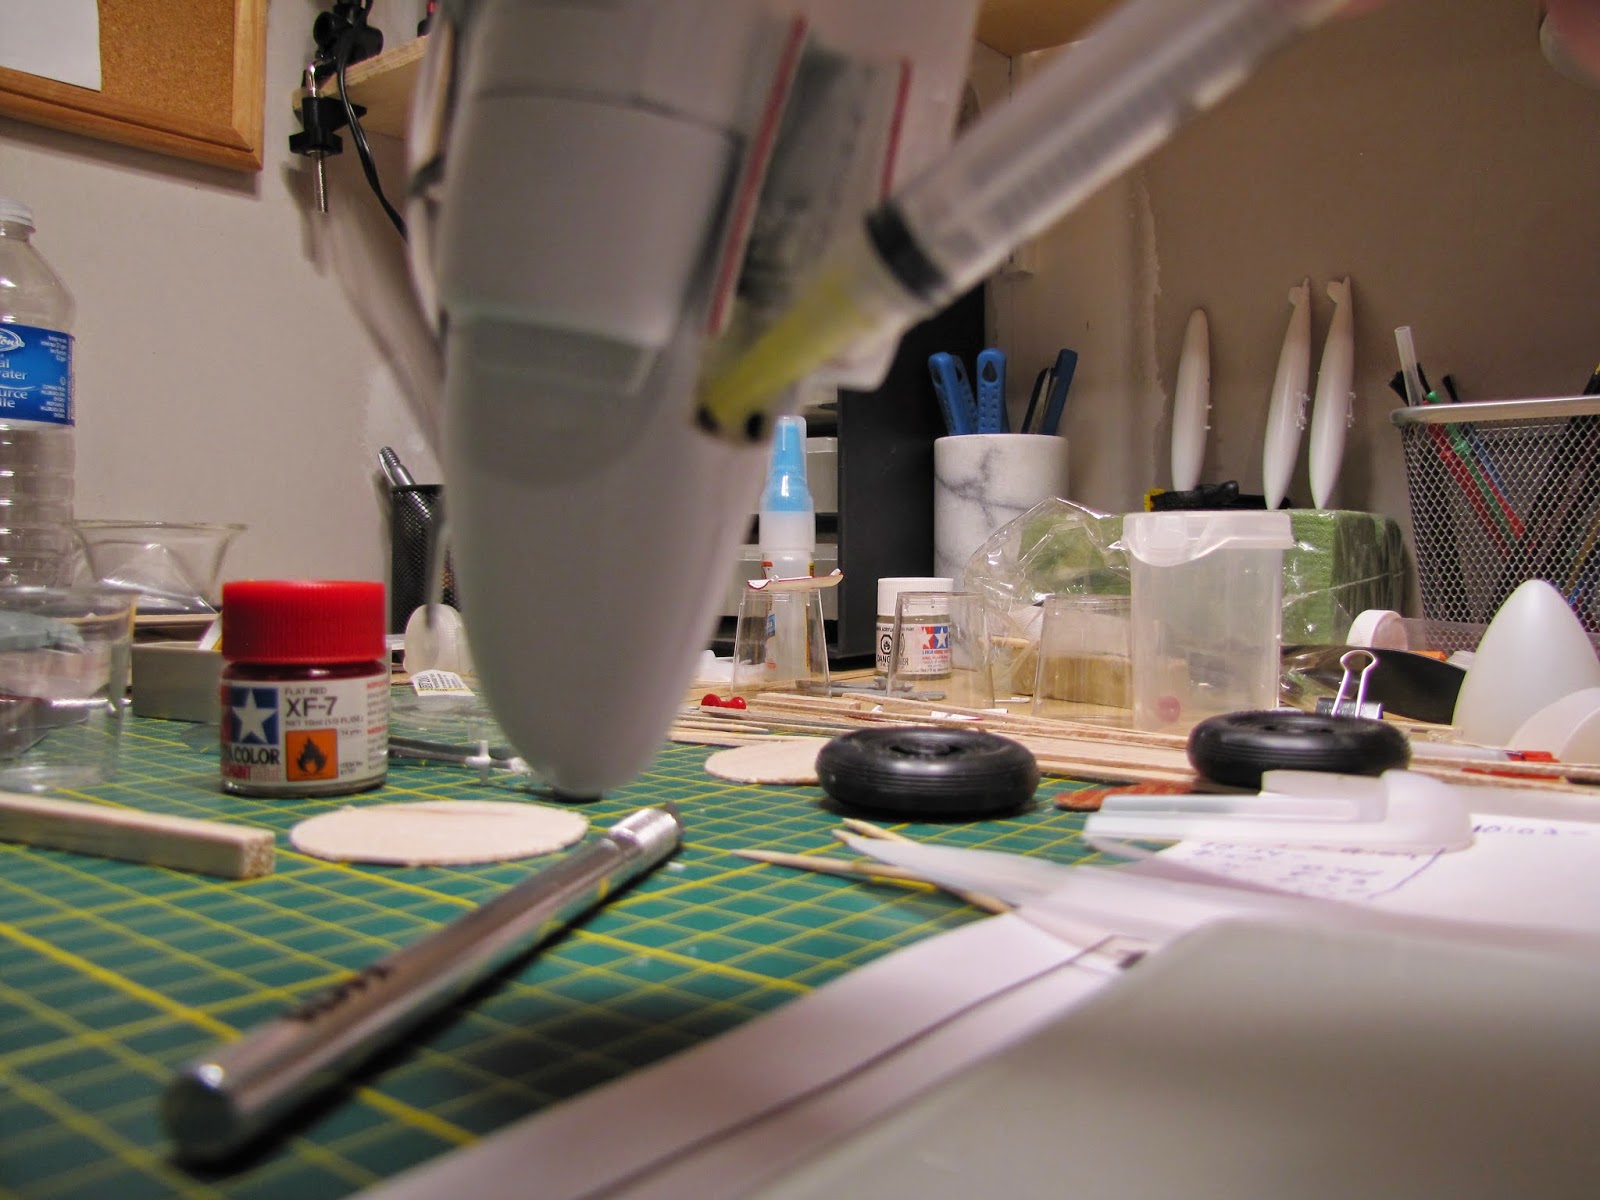 I put some glue in the syringe which will also add some weight and inserted it into the small whole in the body and with a good amount of pressure was able to squeeze out several ml of glue. I also decided to add some glue inside of each feel tank, although the holes are too small for lead weight the glue will be better then nothing. Now I just got to let the parts hand downwards for a couple of days while the white glue cures.


 Unfortunately I realized that I forgot to paint the wings ailerons white as I relied on the box art of the kit and did not analyze the instructions properly. What tricked me is the artist who made the very nice box art added reflections that blended the grey color of the top wing with the white of the ailerons.


 Preparing to paint the final color on the body of the aircraft. Using a new technique I discovered where I use putty delimit the area I want to be masked. I then used Glad Press & Seal to cover the area I wanted to protect. The putty is round and will allow for a more natural gradient of paint when spraying.


 I ordered some special masks to fit the windows of the Intruder and to my surprise there were two sets. The first one seen here is slightly smaller then the second set and is to be painted black to replicate the rubber lining around the windows. The next one will slightly overlap the first mask so that I can paint it to match the upper section.


